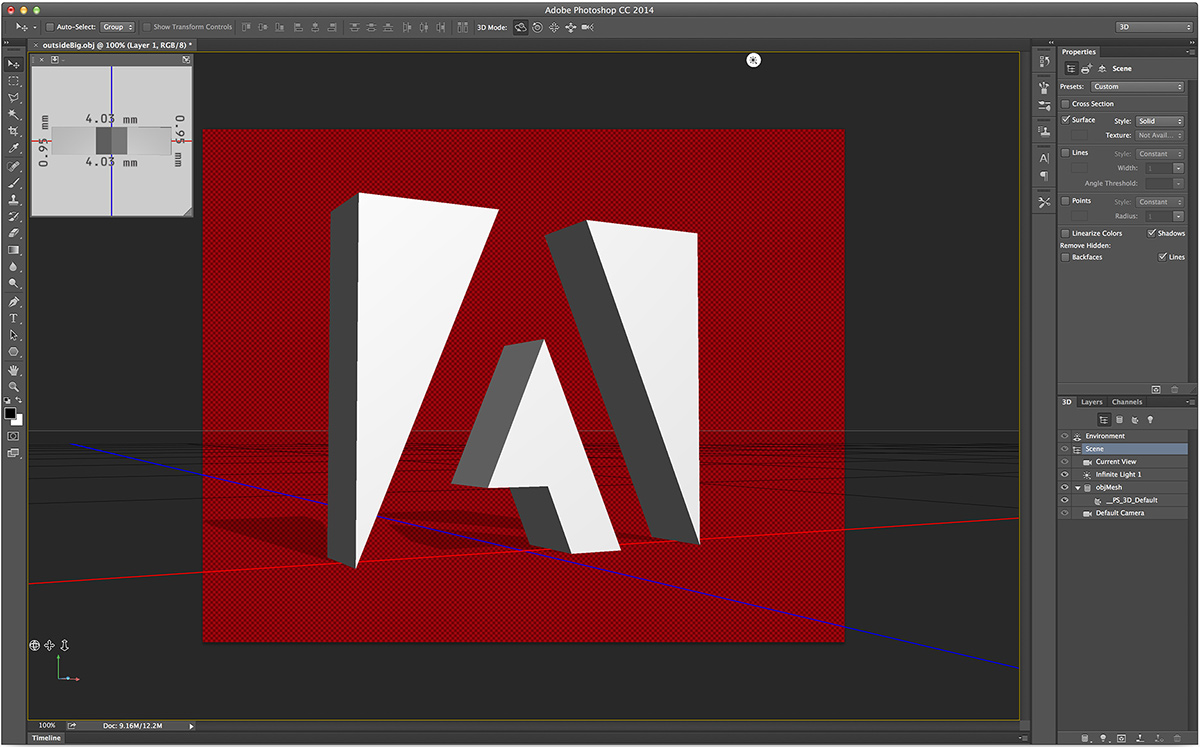
My creative process is highly iterative. It is rare for me to have the idea before the execution. Usually I just start with a vague notion of something I want to explore and I start exploring. With the Adobe Remix project, the notion I would be starting with would be the Adobe logo itself. That is where it began. Fortunately, the Adobe logo is clean and simple to reconstruct as a 3D element.
The Final Piece
--------------------------------------------------------------------------------------------------------------------------------
After many weeks and a couple false starts and dead ends, here is my Adobe Remix. I decided I wanted it to be about collaboration. I was very excited to work with a couple friends I made recently, Lutz Vogel and Bent Stamnes. Lutz has a great eye for design and comes from the world of 3D and VFX. Bent is a musician from the demo scene and he composed an original track for the project.
Where To Begin:
--------------------------------------------------------------------------------------------------------------------------------
One of the initial challenges was how to have a conversation across disciplines. Lutz comes from a world where 60+ seconds of render time per frame is totally acceptable whereas I generally shoot for 60 frames rendered every second. In our initial discussions, I outlined all the things that are hard to do in real-time. I spent a good deal of that meeting saying "no" to many of his suggestions simply because they aren't things that are easy to do at interactive framerates.
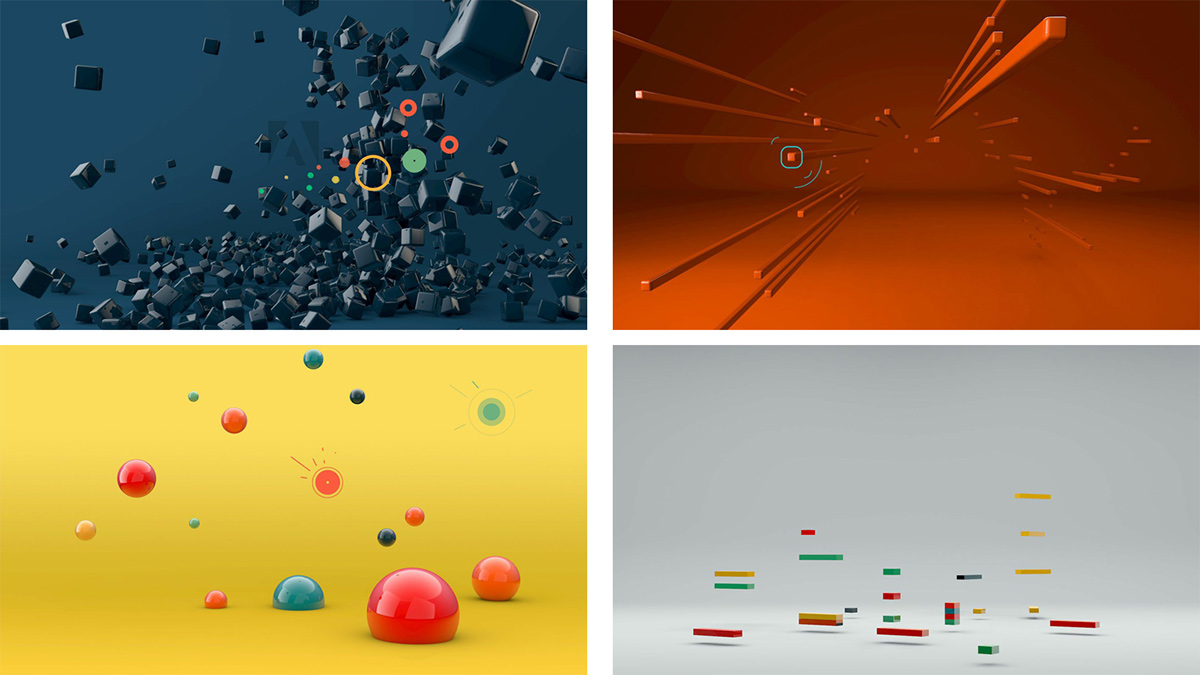
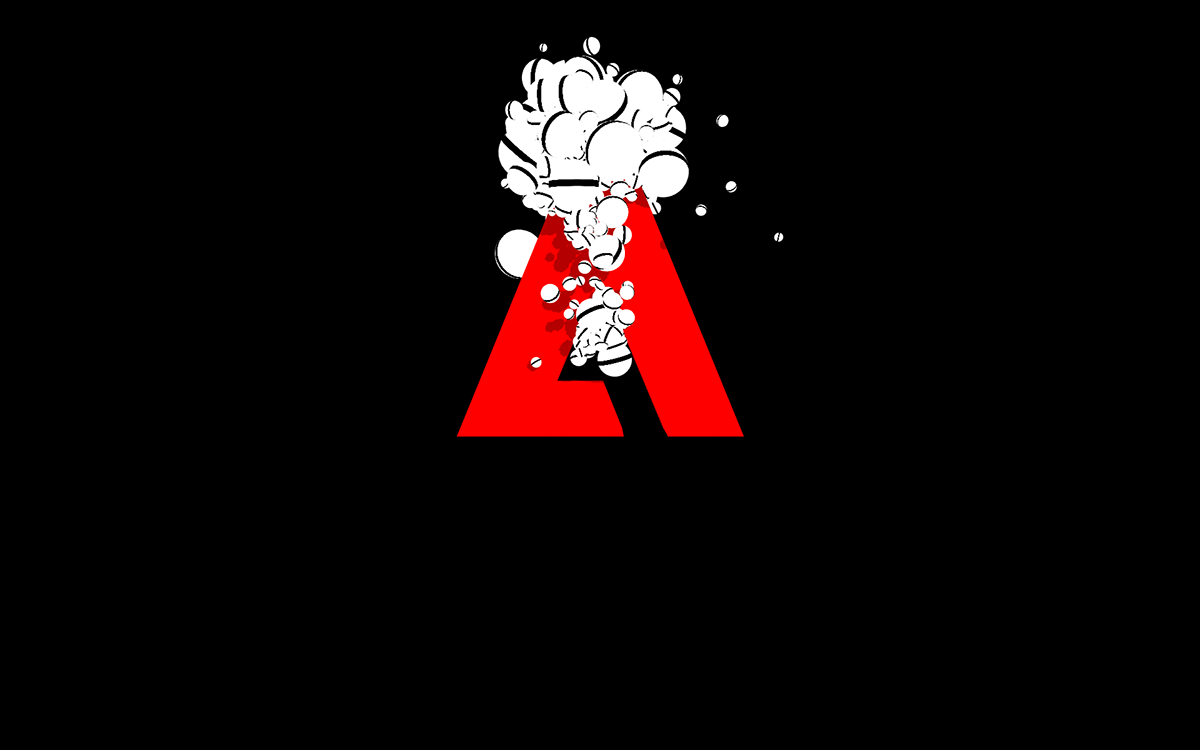
Sample images from Lutz's style frames. Credit: Lutz Vogel
Two things that we kept coming back to were shadows and physics. His look, which was established with a combination of a 3D software and Photoshop, had really nice soft shadows and rigid body physics. Until this project, I had not worked with real-time cast shadows or a 3D physics library. These were definitely holes in my skill set. I told Lutz that these realistic effects might have to be sacrificed.
Coincidentally and fortunately, two of my friends were in the process of tackling these hurdles. Eric Renaud-Houde was making a shadows sample project for Cinder and so he showed me how to improve my code and make it run faster. Ryan Bartley is in the process of creating a Cinderblock which allows Cinder to implement the Bullet 3D Physics library. He gave me early access and taught me the basics. I owe them both a huge thanks for helping me get up to speed with these new skills. More tools for the tool box.
I spent a couple weeks learning more about shadows and physics.
Early test showing functioning cast shadows. Progress!
Initial Bullet 3D physics experimentation.
Throw Things At Other Things
--------------------------------------------------------------------------------------------------------------------------------
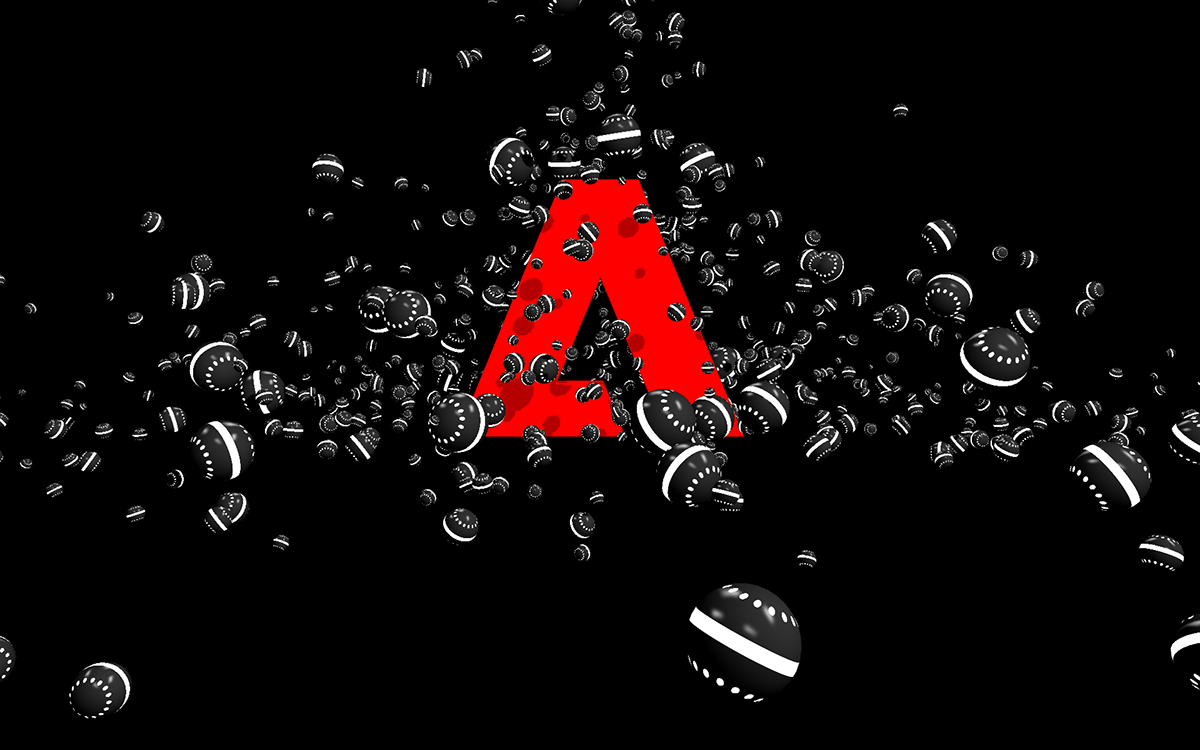
What follows is a week of exploring what it looks like to throw objects at the Adobe logo. All kinds of objects ranging from simple shapes like cubes and spheres, to more complex forms like teapots and mannequins. At this stage, I was still getting a handle on how to use the physics library. There are a lot of parameters that need fine tuning in order to make a simulation that looks credible. Minor adjustments to physical properties like mass and intertia can make things look heavy or light, tiny or gigantic.
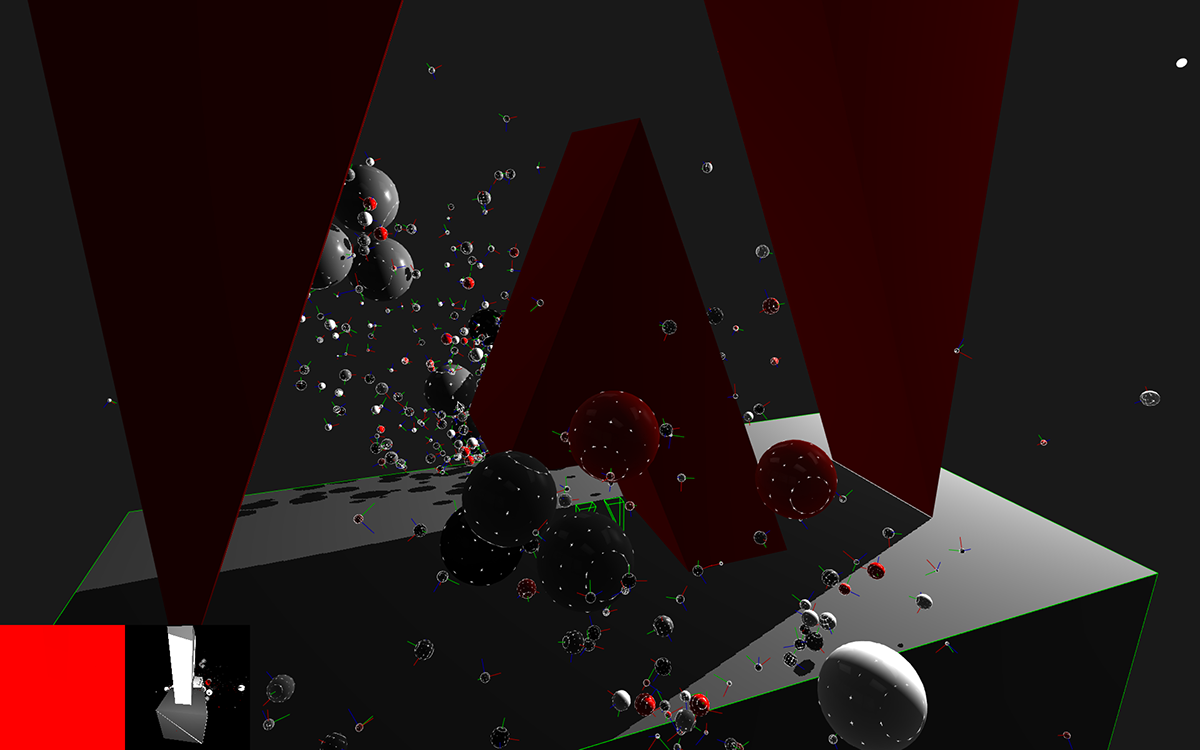
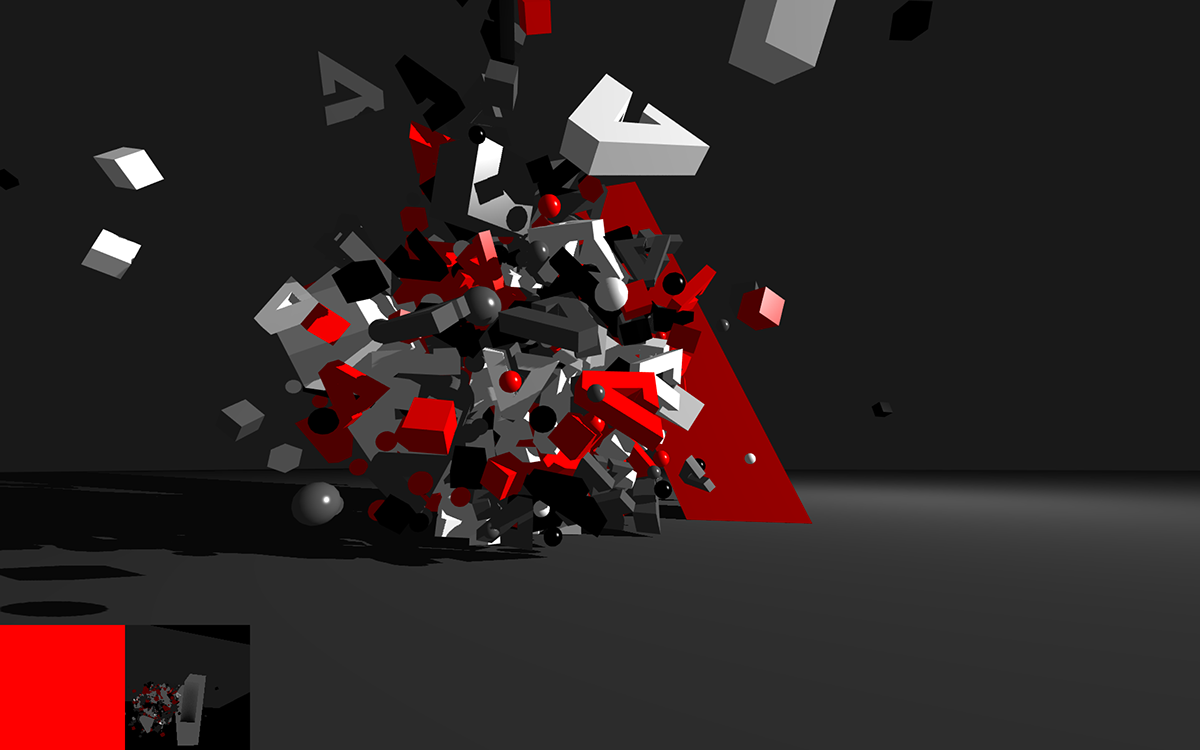
For these early experiments, I was not concerned about color. I stuck to a gray palette so I could focus on fine tuning the behavior without being distracted by color choices. Whenever it started to feel too bleak, I would throw in some bright red for variety. Lutz is much more adventurous with color than I am so I deferred to his expertise when it was time to inject some brightness into the projects. You see those versions later in the iterative process.

Cube and spheres can get boring from time to time so I ended up using different 3D assets whenever I wanted I break from the tedium of predictable shapes.


Sticking To The Plan
--------------------------------------------------------------------------------------------------------------------------------
I experimented with creating a more complex environment, but always ended up back at the clean featureless room. The focus was about simple forms and interactions and the grass just felt like it was tacked on without thought. I didn't explore this possibility much further.
That is one of the problems with the iterative process. It is not uncommon to head down a path only to realize you have gotten yourself lost. I love simulating things from nature. My portfolio is riddled with terrain simulations and flocking simulations and grass simulations. So when I started to feel the urge to add the grassy field to the project, I made sure to keep an eye on my motivations. Was I adding grass because I thought it would help, or was I adding grass as a weird form of procrastination? It turned out to be the latter. I was struggling with how the project was evolving so I quickly grabbed my security blanket and added grass. Ultimately it was the wrong move.


And as expected, I did get a little carried away. Just grass? Why not a field of lavender. And if I am going to make a field, then there should be beautiful blue sky with drifting clouds and a reflective logo!
I explored this tangent for a couple days before setting it aside and getting back to the task at hand. It was a fun distraction and ultimately a look I would like to revisit at some point. The look was inspired by a scene from the British show UTOPIA.

The Abandoned Hallway
--------------------------------------------------------------------------------------------------------------------------------
When I started to get a good feeling for how to create 3D content to be used by the Bullet physics engine, I kept coming back to the notion of a hallway. I kept wanting to see these restricted areas filled with physics objects. However the versions I created always ended up feeling really menacing. A friend referred to it as the "Shining" hallway. I scrapped it shortly after.

Experimenting With Simplified Landscapes
--------------------------------------------------------------------------------------------------------------------------------
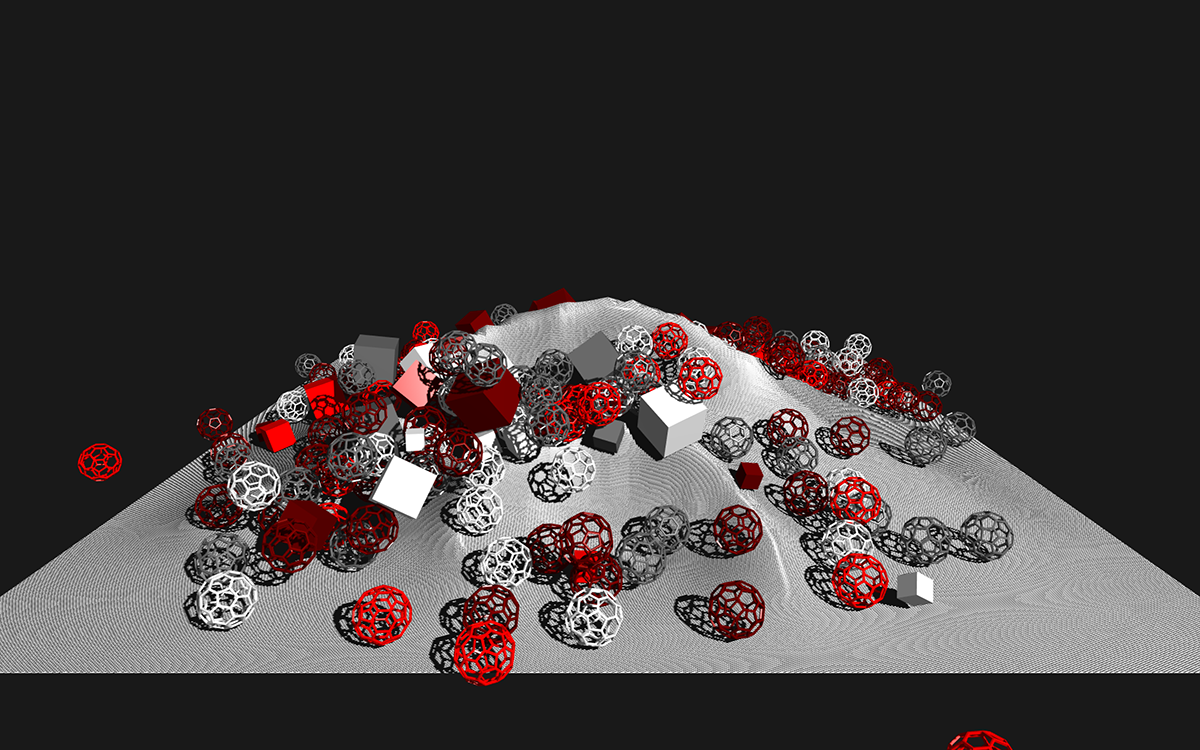
Lutz's style frames did included references to a very low-res landscape form so I started to incorporate it as an additional element. Many hours were wasted dropping forms onto the landscape and watching them roll down the hill and disappear off screen. Physics-based interactions can be quite entertaining.

Physical Forces
--------------------------------------------------------------------------------------------------------------------------------
I started to experiment with adding additional forces to the simulation. Until now, most of the action was the result of just adding gravity or something akin to wind. The objects would either fall towards the ground plane or fly to the side above the ground plane. I wanted the movement to be more energetic and less predictable. I began to add mouse-directed forces of attraction and repulsion. This way, I could pull in all the geometric forms and have them swarm to the cursor position.

Credits:
Code/Vision: Robert Hodgin
Vision/Design: Lutz Vogel
Audio Design: Bent Stamnes
Tech/Code Mentor: Andrew Bell
Technical Advice: Eric Renaud-Houde
Technical Advice: Ryan Bartley

