Here's how I made my ultimate Adobe Pinewood Derby car

For the last few years, Adobe held a pinewood derby tournament as part of the so called "Family Fun Day". It's basically an indoor carnival with popular attractions such as endless free play arcade games, a photo booth, sketch artist, all you can eat food and sweets, open bar, and the centerpiece - a long miniature race rack where handmade wooden toy cars roll down a slope to race each other. A free kit - basically four plastic wheels and a block of wood is distributed a few weeks earlier.
A bit of history
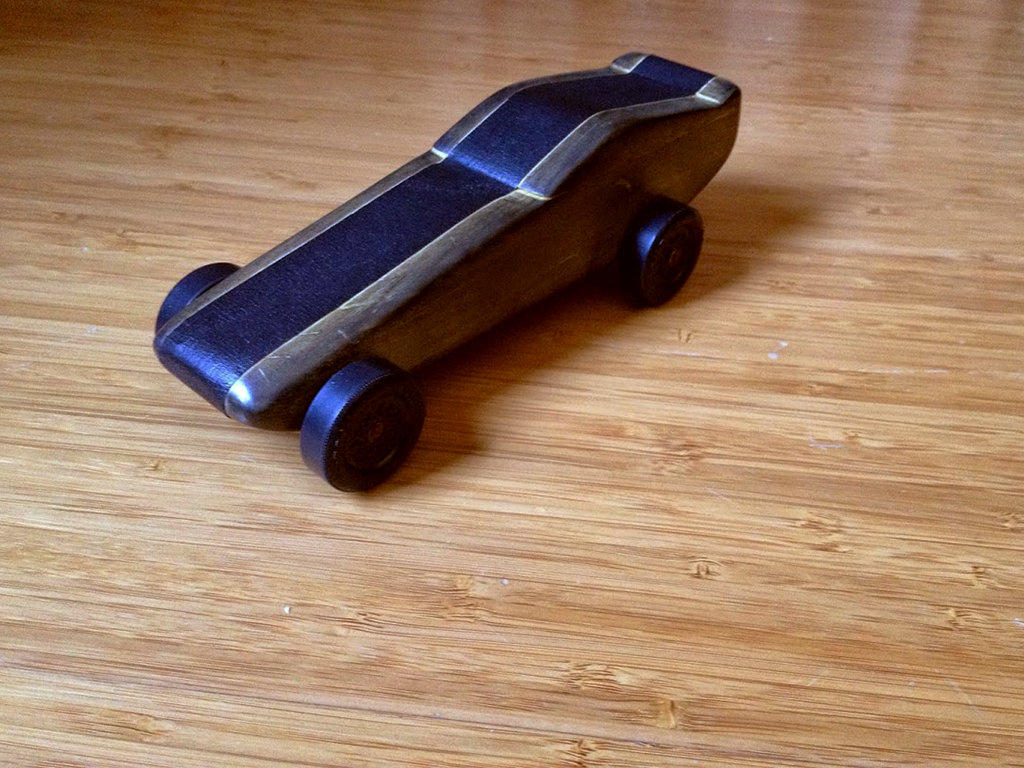
Last year I made a car I called "Wasp" (for it's plain wood yellow body with the black electrical tape stipe). I remember walking into a local hardware store (as in building materials etc. - not computer hardware) and picking up a hacksaw, wood glue and some sandpaper. I did some cutting and sanding on the kitchen counter (for lack of a better alternative) to come up with a simple yet esthetically pleasing design which still had a fighting chance to be worthy contender speed wise.
As you can see from the diagram below, I wanted to maximize the use of the block of wood in the standard kit and simply rearrange parts of it and end up with the total mass of the original wood (except for the sanding off for smooth edges).

To my surprise Wasp did quite well despite the fact that I didn't do any of the axel smoothening and wheel polishing and graphite lubricating that I was aware most people do at least from what I saw on YouTube videos. The car was only beaten by the car that actually went on to be the winner. The other surprising thing was the winning car was not at all aerodynamic. It's one of the oddest shapes in the whole race. It was a wrestling ring on wheels - complete with two figurines of wrestlers standing in it. I asked the ower what his secret was and he said he used graphite for lubricating the wheels. So this time around I thought if I did polish up the axels and messed with some graphite I could probably make Wasp even better than it was last year..
That time, though it didn't win the final race, it got an award for being the "Most MadMax car". I think the judges made that category up because they thought there's something special about Wasp - or maybe we all come from the generation of growing up watching Guns 'n Roses videos and Wasp vaguely reminds us of one.

Last year the rules clearly said that nothing should power the car except gravity. But this year the language only talked about specific things that aren't allowed such as springs etc. Which got me thinking, what if the car is freewheeling but had some sort of extra push that doesn't directly power the wheels. It was a risky move. I was flirting with disqualification. I was also risking making the car too complicated and allowing more potential things that could go wrong. So I thought I'd pimp up Wasp with smoothened axels and wheels, new "paintjob" and stripe and lose the missiles then enter it as my backup car (by allowing somebody else to enter it to the race) and take a bigger risk with a completely new car with a completely new philosophy of daring both technological challenges and rule navigating.
The new plan
The initial design involved a sleek body with three propellers in front, with a wind blown trigger mechanism at the back that powers the propellers when in motion and stops them when the car comes to a stop (without injuring any kid who might grab it).
The propellers and the motors came from a nano quadcopter that met a tragic end when it crashed into a coffee cup and drowned it’s electronics in the tiny bit of left over coffee that was in the cup at the time. On the bright side, three out of its four motors were still working and even better, that whole machine was a scientific marvel to be small enough to fit inside a coffee cup!

I wanted to make the triggering mechanism to be made out of wood and make it look like a cool sports car spoiler. It didn't take long for me to realize that I have grossly over estimated my wood working abilities to create such intricate objects using minimal tools inside a tiny San Francisco apartment windowsill. So I had to simplify it to use wood for the main body (as dictated by the rules) and use other materials like black drinking straws (which I found to be great building materials for making things that are light and strong during experiments with micro Quad-copters).
Having all three propellers in a row seemed impractical as the dimensions would have exceeded the width limitations of the race rules and the proximity of tiny blades spinning so close to each other was a recipe for disaster that not even I could stomach. So I decided to mount one of the propellers on the main mast leading to the trigger tail. It being a machine with two of it’s short probes in the front and a longer tail boom at the back, the name “Scorpionbot” was born.
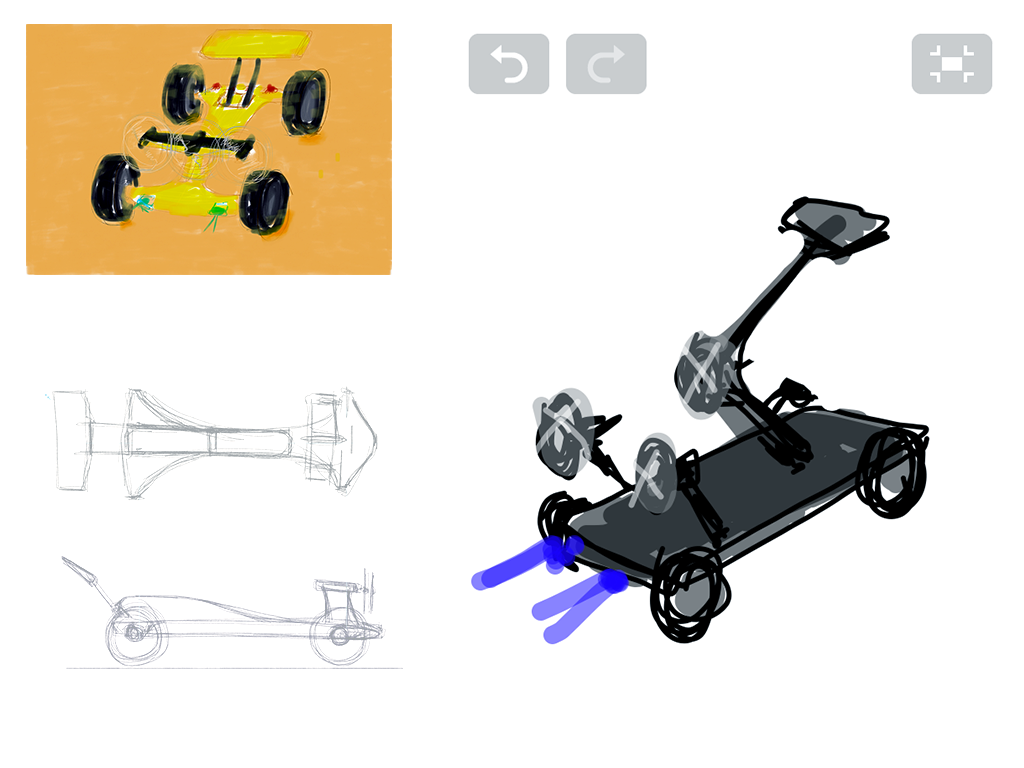
I also simplified the triggering mechanism to a custom made rubber tubing hinge and coiled wire contacts that integrated well with the drinking straw based nano propeller engine mounts. (being a project Napoleon beta tester, I had access to the Adobe accessory that allowed me to draw lines and design these things with relative freedom right on my iPads (yes I used more than one when I continued working on what was stored on the cloud from different locations without having to carry the iPad with me).

For added dramatic effect I wanted to mount two bright LED lights as headlights or the eyes of the Scorpionbot and figuring out how to how to mount them inside wood and still have ways to power it was a little tricky. Some of these ideas came at times when I only had my phone with me so apps like Adobe Ideas came in handy to sketch it out on the go.
I ordered a $25 electric drill from Amazon and it opened up a whole new dimension to the kinds of things I can do to the poor block of pinewood.

There's method in this madness
In the mean time, I had some conflicting thoughts about attempting to reduce weight as much as possible instead of trying to make it have as much weight as allowed by rules. From what I vaguely remember from high school physics class (to which I did pay a lot of attention because my British Physics teacher was hilarious) I knew the factors involved in making the car fast have to be a bit more complex than what those experts who make how to make a derby car faster videos on YouTube. Sure there are some valid points in them and most of those points work in practice but which factors are more important than others and if I could only choose to put my efforts on certain aspects.
So I asked some help from an engineer friend and she tried dissecting all the factors involved (made extra complicated by the fact that my design now involves propellers). After realizing that the amount of factors involved forced us to make way too many assumptions and estimates, I decided not to be obsessed about the numbers but the exercise did confirm some gut feel physics intuitions I had about what I should care more about and which factors are most likely to have a bigger impact on the relative performance of the car.
Below are screenshots of some actual spreadsheets and formulas she sent me to consider along side some data we knew about the dimensions of the track etc.

If there's one thing I learned from all that theoretical analysis is that Pinewood Derby cars are pretty complex machines.
Getting hands dirty
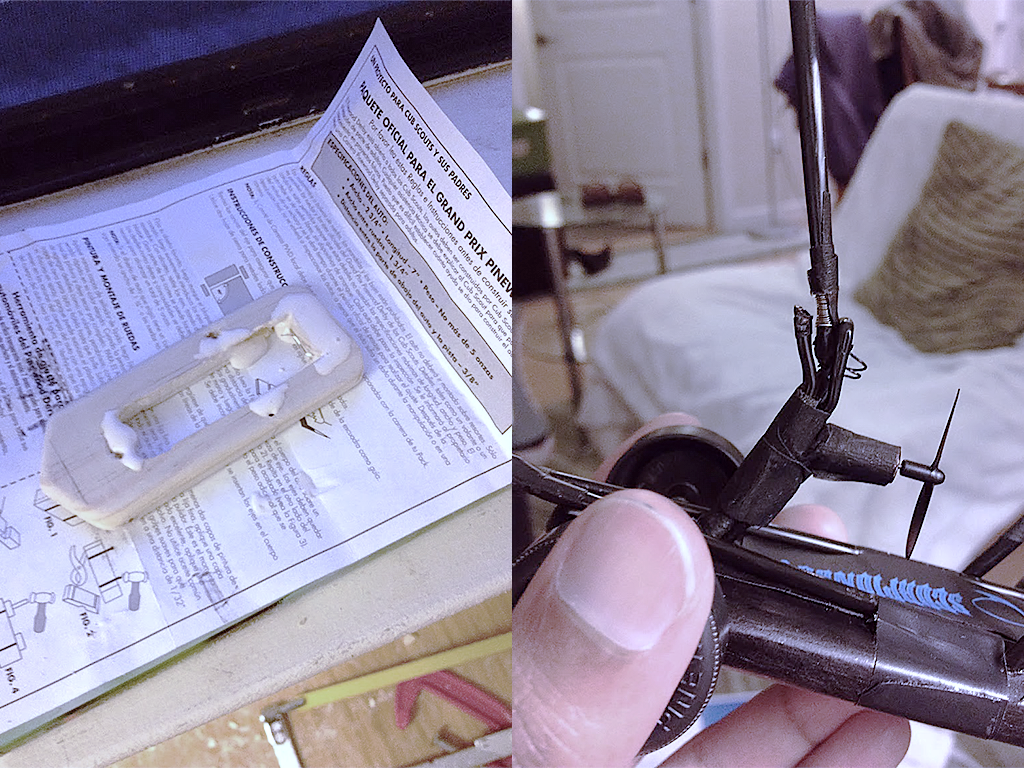
Soon, I had to go back to reality and face the challenges of doing real world practical things like drilling holes on a tiny bit of wood without drilling into parts of my apartment that I hope to get my deposit back when I leave.
The first exciting thing was to test the LED lights! These were actually scavenged from the bright lighting attachments my lovely drone dancer was wearing on my other crazy experiment.

I was very pleased with how compact I could make it I continued to stuff more and more electronics into the ever more hollow body of the Scorpionbot. The moment I chopped it to it's final length and painted it black (with a permanent marker pen) and polished it off with some shoeshine, it was certainly starting to look more scorpion like.

I got carried away with the drilling I had to repair some of it with extensive use of wood glue. To the right you can see the switching mechanism that was working fairly well by now
As you can see on the scales below, the two bugs approach the challenge from very different strategic angles.

In the mean time I polished up Wasp and named it Wasp2. The wheels and axels got a reworking as well. Now it's time to give them both some cool graphics and graphics is something that I'm probably more competent with compared to my woodworking skills.
If it's not pretty, give it some personality
First, I took a couple of forensic investigator style reference pictures with rulers next to the cars - not because the cars were used as murder weapons but because I could place them as backdrops to make the graphics not only to the right shape but also the right size when printed out. Once the picture is inside Photoshop or Illustrator, all I have to do is scale the image to match the in photo ruler inches to the in app ruler so when I draw something on top of it and print out later (without the backdrop) the printout would nicely match the dimensions of the actual object with no need for trial and error.

I tried looking for a scorpion shape to make the graphic for scorpion bot online but I couldn't find one that didn't look too realistic to the point it just looks too scary or repulsive (after all it's a Scorpionbot not a scorpion).
So I decided to make a logo from scratch using Adobe Illustrator CC (part of Creative Cloud). Bare with me for the heavy Adobe plugs here but I honestly believe these tools are pretty cool for designers and novices alike who want to get stuff done easily
I was delighted to realize how I could put some of the latest features of Illustrator CC into action for very real practical use. For example the new pencil tool with smooth curve support allowed me to make the clean shapes freehand without spending too much time tweaking curves with handles. The live corners tool allowed me to make those mean looking pointy bits that made the scorpion nasty yet sleek. (there are some great videos by my euro friend Rufus on Adobe TV that explain these features)
Then I added some final touches like glows in Photoshop CC. As for the font, I got it from Typekit which is also available for Creative Cloud users.
Notice how I had to make two distinct stickers for the two sides of Wasp2 to make sure the text still reads correctly after the image is flipped to match the features and the direction of the car.

Here you can see Wasp 2 with the printed stickers applied (I printed them on ordinary paper and glued them on). Also note the nail polish based glossy tail lights - now I have a new found respect for girls (and guys) who manage to put on nail polish on their nails without making the entire area into a big chemical smelling mess.

Here are the two complete cars. I decided to add a drinking straw based fender to Scorpionbot as during testing it kept bumping into things pretty hard and sometimes knocking off it's front wheels. At first it was just part of a test rig configuration but it grew on me and I left it on even on race day.

Getting in shape
Before race day I did a last minute "tune up run" at the Adobe gym treadmill. I couldn't actually do too much tuning as I was hesitant to mess with the axels this close to the race. Instead I learned that Wasp2 was remarkably stable while Scorpionbot was seriously wobbly making me worry it might even derail from the tracks. I guess it just added to it's all or nothing unpredictability factor.

Judgment day
And before you know it, it's the 4th annual family fun day featuring a shiney new alluminum track.


After many rounds of seemingly endless cars, Wasp was on the track first. It won the first round despite the impressive competition.
When it was time for Scorpionbot to get on the track, I rushed in to take off it's "safety tab" which was a flat piece of rubber between the contacts of the speed and slope angle activated switch. The Scorpionbot was officially armed and sitting on top of the slope along side the cream of the crop of the pro category. it was time for all or nothing. Nobody had any idea what Scorpionbot was capable of. Neither did I. If it works, I knew it would do brilliantly but if it won't work it would get seriously disadvantaged by the silly bits and pieces sticking out of it making it the worst aerodynamic car in the lineup.
As the cars reach the flat part of the track Scorpionbot came alive, flashing it's lights and spinning it's propellers. It zoomed past the competition went past the finish line in record time and flew straight over the slowdown zone and jumped over the stopping barrier on to the wooden floor. I could hear some audience members saying "wow!". I rushed in to retrieve Scorpionbot and return it's safety tab to avoid it unpredictably buzzing around the floor. My hands we shaking - from both the excitement of winning and fear of hearing an announcement about it getting disqualified. But instead people came rushing and somebody asked, "How did it do that?" I explained how the tail catches the wind when it's in motion and off the slope and activates the lights and make everything come to life. Many exclaimed, "It's so cool!” There was no talk about disqualification and I was rushed aside and given a trophy and a medal. The official event photographer took pictures. "Make it do the light flashing thing!" He said so I pulled Scorpionbot's tail one last time to agitate it and glow it's eyes fiercely hissing its nano propellers.
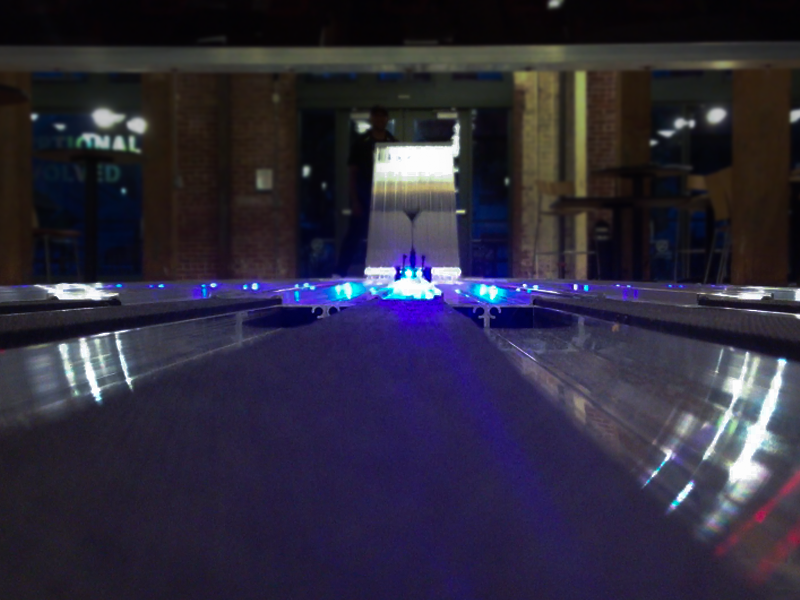
I didn't get to film or photograph the winning round but here's what it looked like when I did a post racetrack run. The shiny tracks amplified the effect of it's glowing eyes and yes it was fast!
Mission accomplished!
Scorpionbot was an instant local celebrity in the building. Kids and Dads alike came to ask about how it worked, what was going on and requests for test races against it. I did a few more runs down the track and every time it left the competition in the dust.

I guess the moral of the story is you shouldn't be afraid to try something unheard of just because it could mean complete failure. Sure, having a backup plan and being prepared for the worst is wise, but that doesn't mean you should shy away from trying that outrageous bold idea that nobody else dared trying out.
I'd like to thank my fellow racers for giving a good fight and accepting the company of my odd looking beast Scorpionbot and thanks to the Adobe Escape team for organizing this great event that let us flex our creative muscle outside the usual work tasks.
And finally, I want to point out that in an ironic twist, Wasp - now Wasp2 - won a round but lost out to the car that won the race yet again!
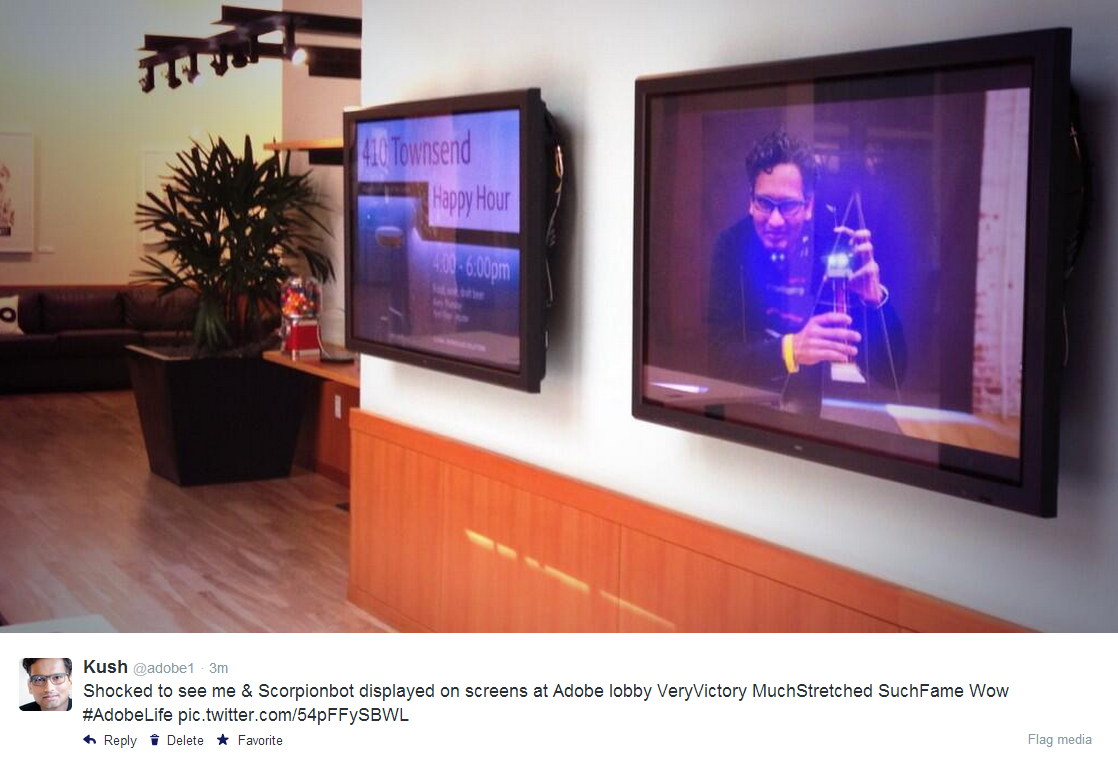
UPDATE: I just saw my picture displayed on a big screen on the Adobe SF main lobby. Here's how it looks and my reaction tweet to it: