Adobe Creative Residency #ExpressIt Swag
I had the honor of being commissioned for the Adobe Creative Residency Fund to make a series of 3 illustrations to promote Adobe's Creative Cloud Express on various swag items. Adobe Creative Cloud Express is a powerful tool to create quick and easy standout graphics, logos, banners and more for your social media posts. With thousands of templates and customizations, it can easily be used by both the beginner or the professional.
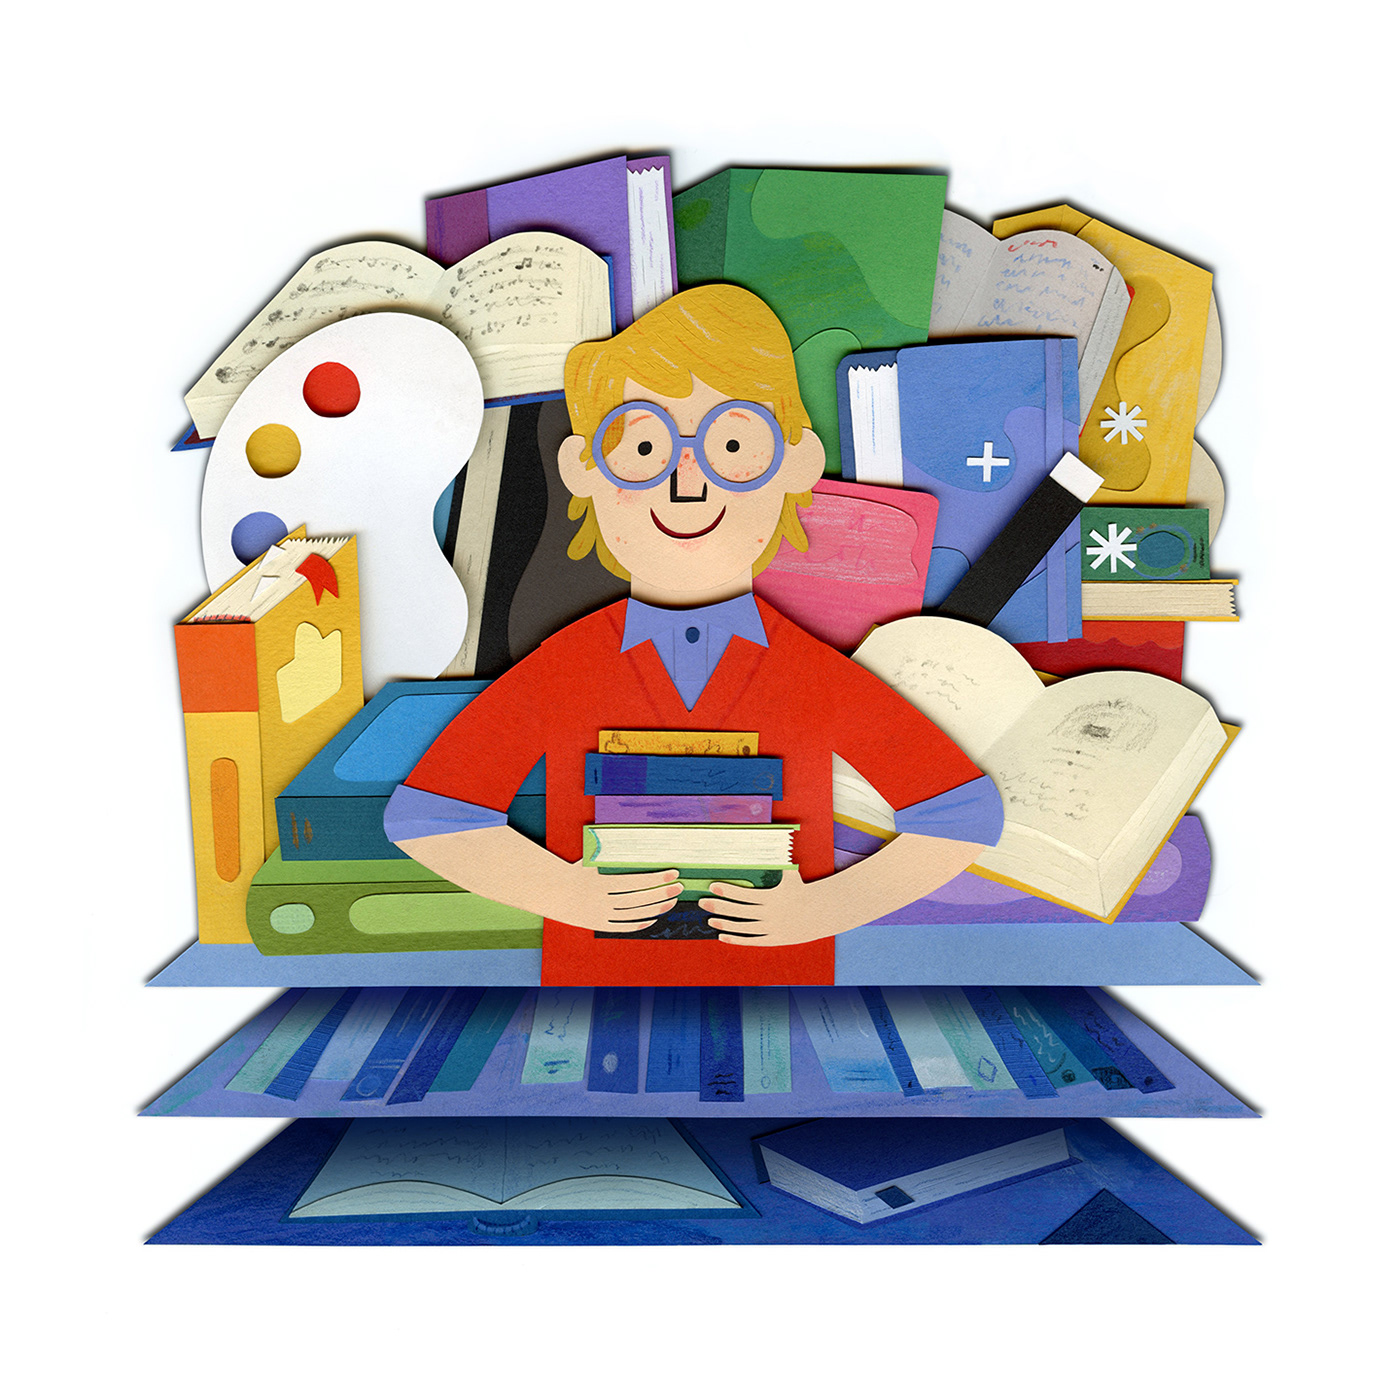
For these promotions, the focus was on everyday makers, small business owners, and professionals. People who could use Express as a tool in their daily marketing routine.
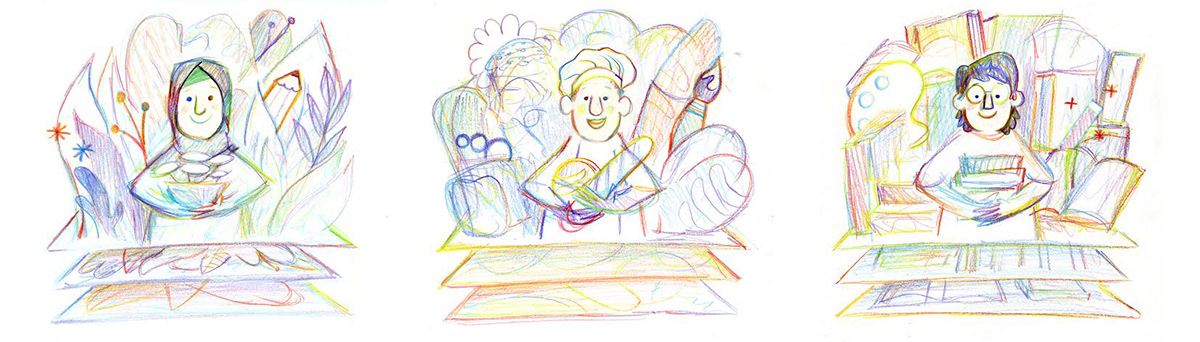
I decided that I would illustrate a florist, a baker, and a bookseller.
Creative Residency Leader: Julia Tian
Adobe Creative Cloud Express Community team AD: Emily Corbin
Illustrations: Jared Andrew Schorr
Special thanks to Zansky!


I used Express for a couple hours just to get the feel of the program and what it had to offer. What an amazing piece of software! The initial sketches were done in my sketchbook with a Magic pencil. I wanted to express the ease of using the program while running a complex business.
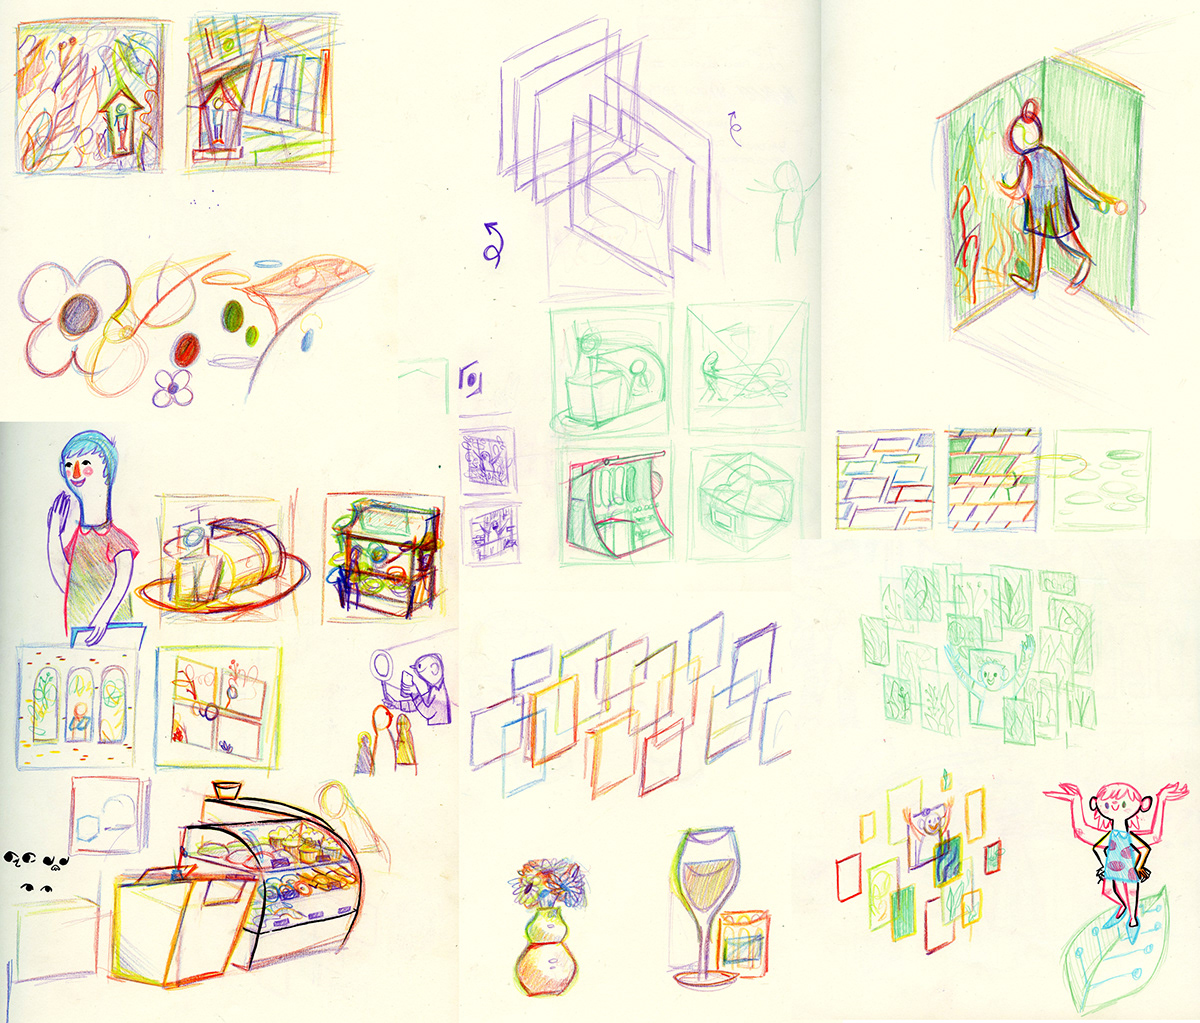
I liked where it was going but I needed to use Express more for inspiration. I can easily get caught up in details and needed a more solid plan. I wanted to convey that even those who don't consider themselves necessarily creative can use Express to discover their creative voice. I also liked how layers are incorporated into the program, so that anybody can understand and use them.
I came up with two sets of sketches based on those ideas.


I like the pallet concept but the message isn't very clear. The layers idea shows the owners embracing/showing off their goods while also expressing that their business are bigger and has much more to offer. With some additions of Express tool elements incorporated and a little refinement to the sketches done, I started cutting out some paper.
PROCESS
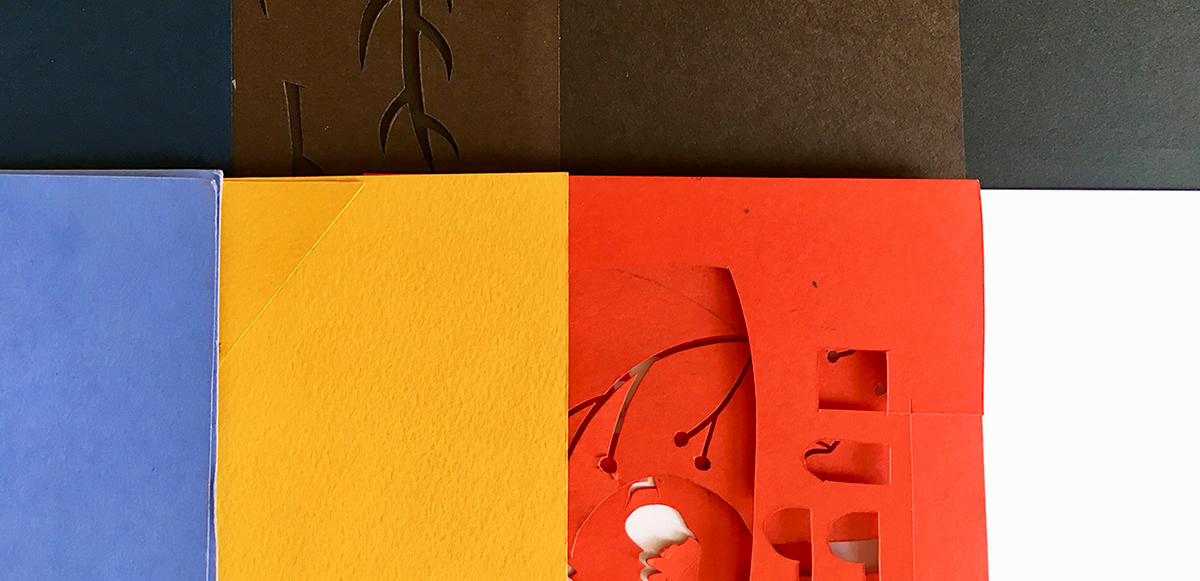
A few specific colors were asked to be used that correspond with Adobe products so I found those specific colors in my stacks as well as all the other paper needed. I figured it would be good to cut all three illustrations at once to get some consistency as a series especially because they were all going to incorporate the same colors.
My process with clients has been to cut without gluing stuff down and taking pictures so that any changes that need to be made can be done without having to rip stuff apart. I made a lot of the florist first as an example for the other pieces to follow. My main focus here was to get good shapes/design with bold colors and not get bogged down in details.


One of the fun things about cutting paper at this stage is I am basically making a big puzzle. The sketches are a solid foundation but sometimes pieces need to be reshuffled or completely taken out to accommodate the overall design. With all these I felt like I was on the right path and any future adjustments would only make the design that much better. The other thing I tried to incorporate from the Florist into the Baker and Bookseller to make them more consistent, was more folded elements.


With things moved around and everything puzzled together in its right place,
we all agreed it was time to glue things down more permanently.


The foam tape I use really helps make all the elements pop and solidifies the design.
In this case all the elements also help enhance the idea of the "layers".

FINISHING TOUCHES
With all of the pieces in place, the layering of the paper looked awesome but because these illustrations are almost half an inch thick it interferes with scanning them. The pictures from before were just for our reference and anything thicker than these pieces would require a photographer. When I scanned them they weren't very bright and this is where I usually find out there's a feline's worth of cat hair on the piece. I scanned these at 600 dpi.


My process for finishing all of my illustrations happens in Photoshop. I lasso the entire image and isolate the cut paper image, making sure I get all of the little nooks and crannies. I then adjust all the levels to make everything nice and bright so I can see everything. I also line everything up so they all look cohesive. With the image isolated and zoomed in at 300%, I then go through the image mm by mm using the clone stamp tool and clean up all of the little hair, glue, mistakes etc. This can sometimes take hours but well worth it in the end. A few more shadows were added to the background and layers to make everything pop off the page.
FINISHES


I'm so happy with how they turned out and can't wait to see them on the swag!
Thank you so much to everyone at Adobe, Julia Tian, Emily Corbin, and Zansky


